
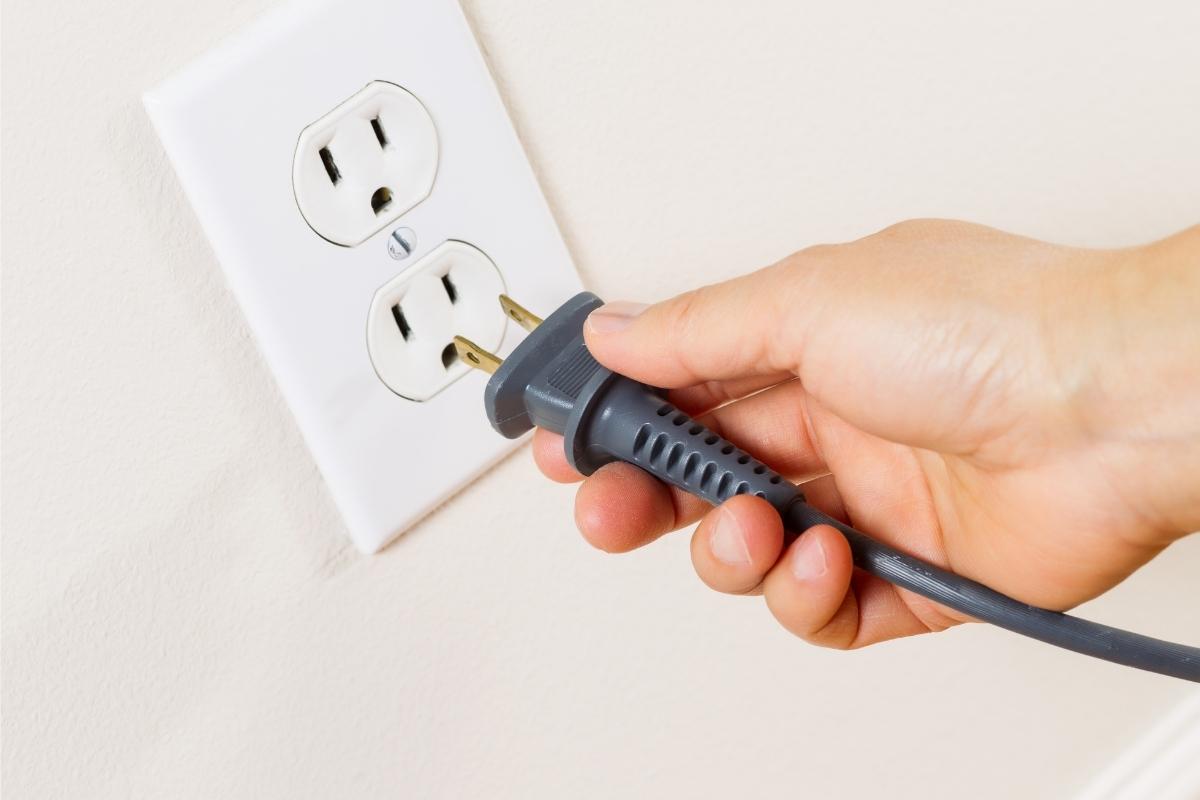
We’ve given you a quick tutorial on how to wire a light switch, so we figured we’d follow up with a little run-through on how to wire a home plug socket.
Like the light switch, it’s not hard to wire a home plug socket, but it’s always important to be careful when dealing with plug sockets. Home electrics aren’t a minefield to fit, providing you know what you are doing and feel confident.
Please keep reading for our step-by-step instructions for wiring a home plug socket.
As a side note, before starting, be sure to follow our safety instructions, and of course, if in doubt, consult a qualified electrician.
Top tips before you start:
- Ensure the electricity supply is cut off and isolated.
- Make sure you have all appropriate safety equipment.
- There are some rooms where you will need a qualified electrician to replace sockets – these include the bathroom, kitchen, and utility room. Ask your local building officer for advice on other special rooms.
- Be sure to leave extra recessed space if you are using a flush fitting or flat plate socket. They are a little trickier to fit than standard raised socket fittings.
What You’ll Need:
- Socket back box and faceplate
- Cold chisel
- Plaster Filler
- Hammer
- Hammer drill with a masonry bit (12-18mm)
- Electrical screwdriver
- Pliers
- Wire Strippers
- Tape
- Gloves
- Goggles
- Pencil
- Spirit Level
It’ll take about one to two hours to fit a new plug socket.
Step One: Unscrewing the old socket
Isolate the power supply and check there is no live current running through the socket with a voltage tester. Using the electrical screwdriver, unscrew the fittings on the faceplate.
Make a note using tape and a pencil of the wire connections – there will be wires running to the earth, neutral and live terminals on the socket. Take the backbox away from the wall by unscrewing the fittings.
Step Two: Tracing the New Face Plate (Optional for double plug sockets replacing single plug socket)
If you are replacing a single socket with a double socket plate, you’ll need to trace the new faceplate. Using the double backbox, place it on the wall over the top of the existing hole.
You can use a spirit level to make sure it’s straight. Once it looks straight, take your pencil and trace around the edge.
Step Three: Enlarging the hole (Optional for double plug sockets replacing single plug socket)
You’ll need to make a bigger hole to fit the double plug socket, so using the trace as your guide, make a series of evenly and closely spaced holes with the drill and masonry bit.
Once your holes are drilled around the edge, use a cold chisel and hammer to knock out the rest of the masonry, creating a hole that will fit the socket neatly. Check by using the new back box to see if it fits – and if you are using plasterboard, use a plasterboard saw to enlarge the hole.
Step Four: Threading the Wiring
Next, you’ll need to connect the wiring by threading it into the box. There will be round inlet holes in your connection box, and you need to tap these out and thread the wiring through. Once threaded, be sure to fit rubber grommets, which will protect the wires. Mark the fixing holes, drill and plug, and you’ll then be able to screw the backbox into place.
Step Five: Connecting the Wires
Once the backbox is threaded and secured in place, you need to fit the wires to the terminals. Twist the wires together, and then connect to their corresponding terminal. This is where marking the wires comes in handy – it’s a case of like for like. Push each wire into its corresponding terminal, and screw tightly into place with an electrical screwdriver.
Check for damaged wire ends, and if you find any, use the wire strippers to remove around 2cm/20mm of sheathing. You’ll have enough bare wire to fold back on itself, and using the pliers, pinch it together. Twist and screw, as above, making sure you screw tightly at the terminal.
Step Six: Fitting the faceplate
Now your wires are connected, it’s time to put the faceplate back on. Push the plate against the box, ensuring none of the wires are obstructing anything, caught or stretched. Then it’s a case of screwing the faceplate back on using the two long screws, which you’ll find clipped to the inside.
Step Seven: Finish Off!
All you have to do now is fill in any cracks or holes with some filler and paint over. If it all looks neat, turn on the power supply and check to see if the socket functions. If it doesn’t, turn off the supply, check the wiring again for loose terminal screws.
If you can’t find anything wrong, call in an electrician.
And there you have it. Seven steps to a successfully fitted plug socket. Be sure to check out our amazing range of plug sockets, which will help you add the perfect finishing touch to any room.