Updating your normal light switch with a motion sensor light switch can be one of the best investments for your home improvement. The motion sensor light switch can save you around 60% electricity bill, up to 80% of energy by automatically turning the light on and off for you only when the sensor detects motion. These motion sensor switches also add significant automation and convenience to your home with the hands-free lighting experience.
The cost of a motion sensor light switch can be very cost-friendly, similar to a normal light switch, so there is no reason not to use them in your house. Installing a motion sensor light switch or replacing your current light switch with a motion sensor switch is very easy. Any DIYer can do this at home in less than 10 minutes following our guide below.
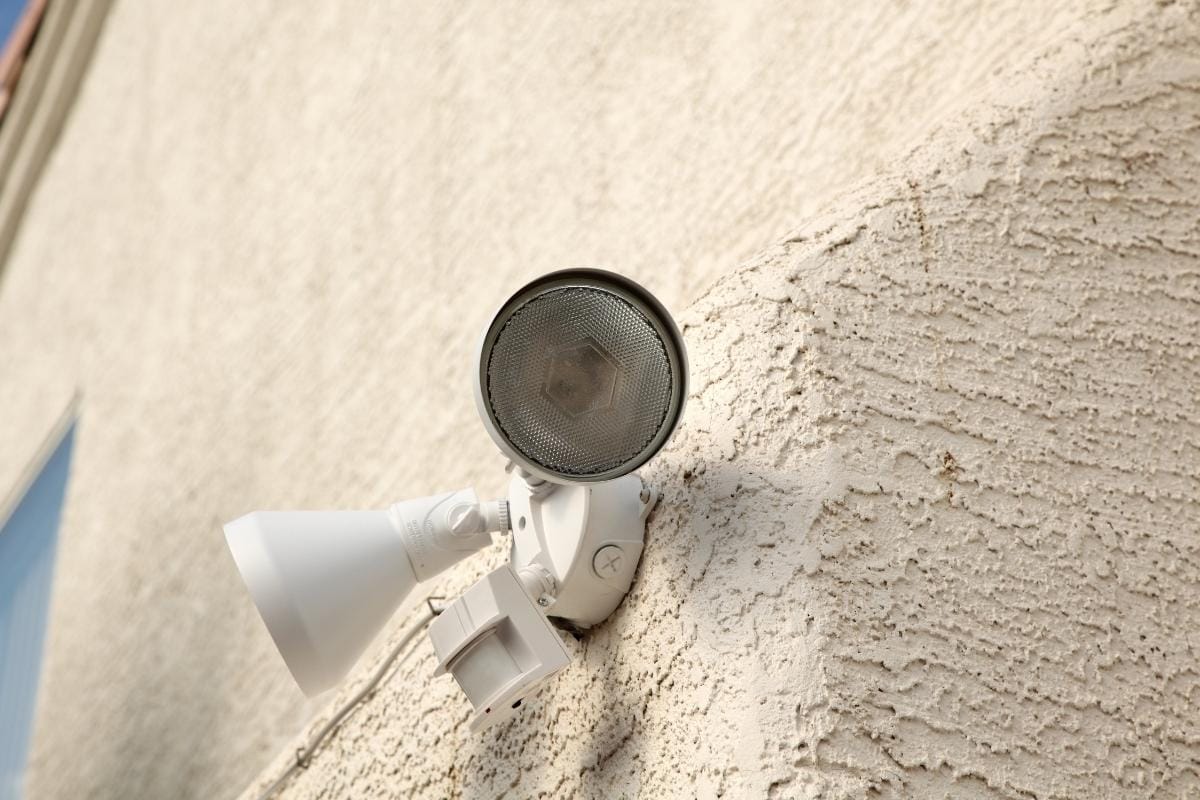
You can also choose to add a motion detector to your light instead of a motion sensor wall switch, so you can have more control of where you want to detect motion in your house.
What Is a Motion Sensor Light Switch
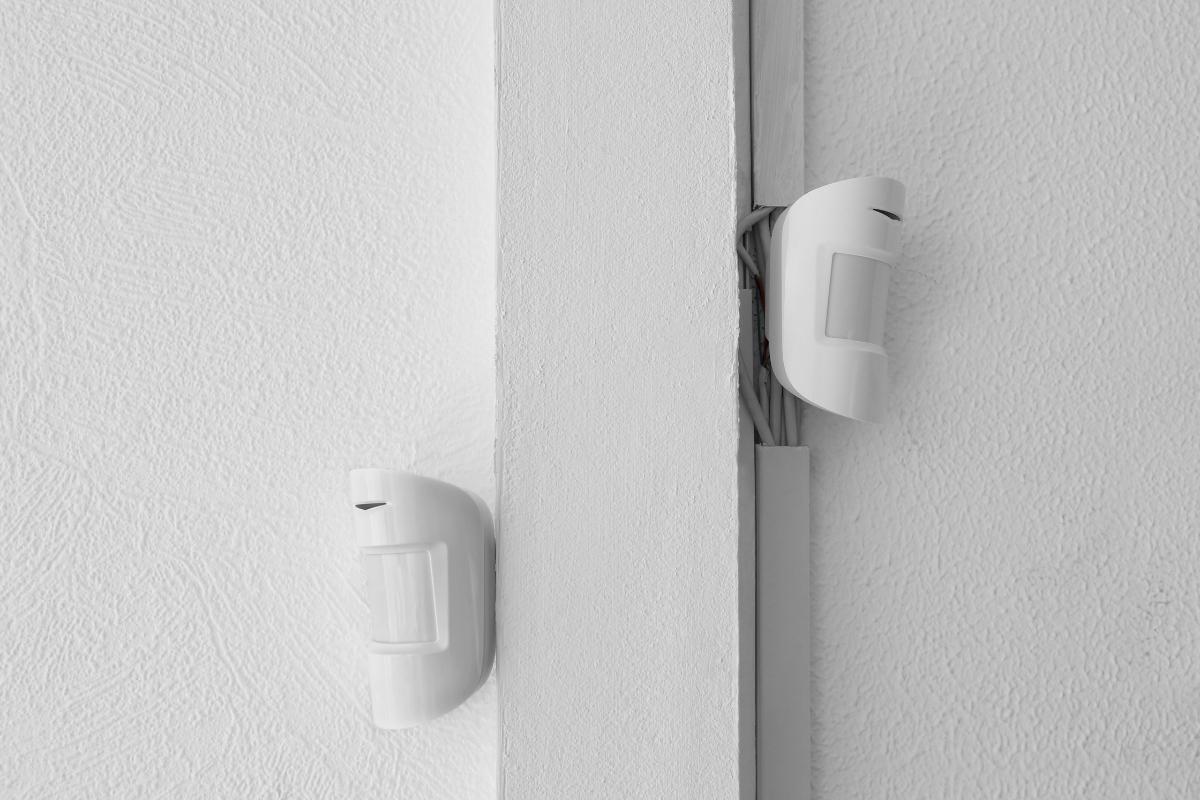
A motion sensor light switch is similar to a normal light switch with an additional built-in motion sensor to turn the light on when people are in the room and turn the light off when the room is vacant.
For the motion sensor to detect movement and turn the light ON even when the light switch is turned OFF, the motion sensor component inside the light switch requires its individual power supply all the time.
So the only difference between installing a normal light switch and a motion sensor light switch is that we only need to add the extra wiring to the motion sensor, which is usually a neutral wire, sometimes a ground wire.
Pick the Right Motion Sensor Light Switch
Before installing or even purchasing a motion sensor light switch, make sure you pick the right type of motion sensor light switch for your home.
In the US, you might find several types of wires in your wallbox which would require different types of motion sensor switches for installation.
A basic toggle light switch could require as simple as a load wire and hot wire to work. When you flip the switch off, it breaks the circuit and turns off the light, and it does not necessarily require a ground wire. Up until a few years ago, the national electrical code requires a neutral wire in a switch wall box location.
Normally, you will find a hotwire, a load wire, a neutral wire and a ground wire in your wallbox, which is standard in modern houses. In this case, you need to buy a neutral wire required motion sensor light switch.
You might only find a hotwire, a load wire and a ground wire in your wallbox, especially in old houses, because the code does not require a neutral wire back then. In this case, you need to buy a ground wire required motion sensor light switch.
The above two types are critical to consider before buying as they decide whether the motion sensor switch can work or not in your house. For models with other features such as dimming or manual control, see our best picks for motion sensor light switches.
Motion Sensor Light Switch Wiring Diagram
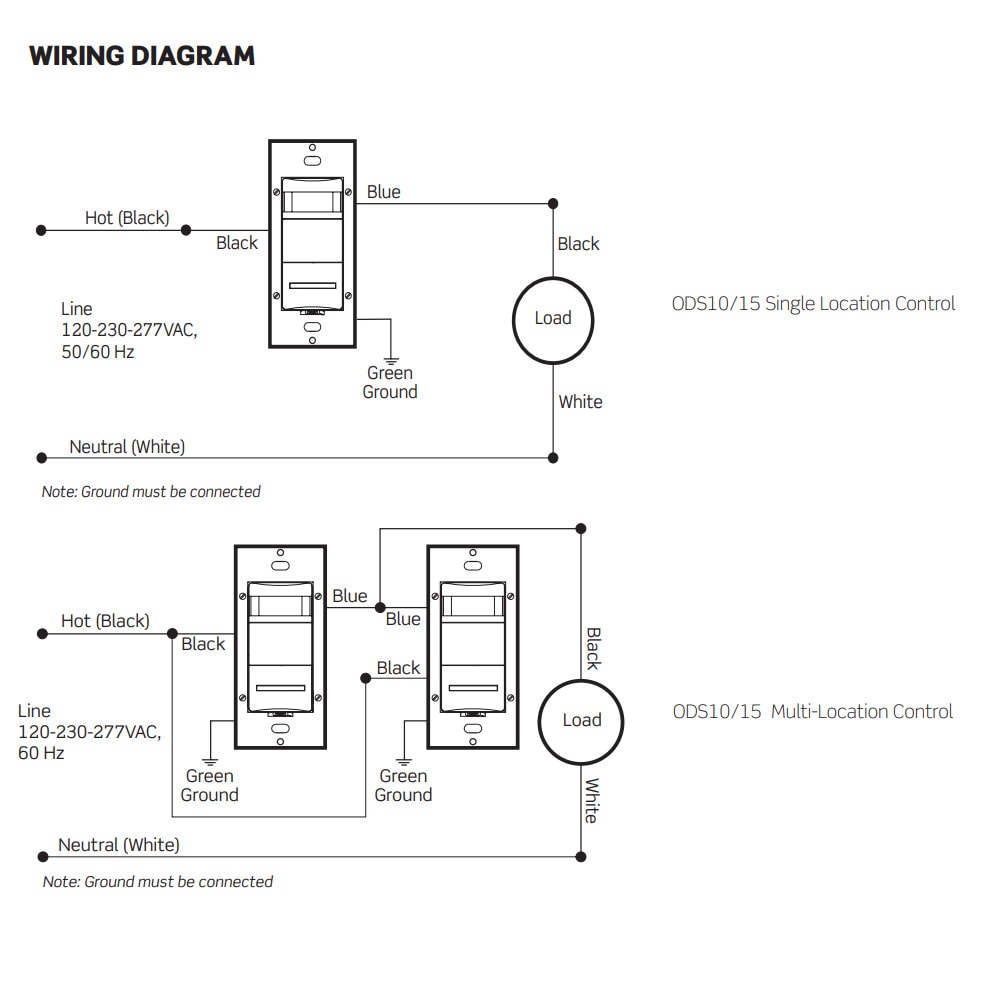
This is a single-pole and 3-way wiring diagram of a Leviton ODS motion sensor light switch for single location and multi-location. The wiring shown in the photo is for ground required motion sensor switch, which is the commonly used type. For the neutral required motion sensor light switch, the wiring is nearly identical, except that you need to wire the neutral wires together as well.
In the wiring diagram, one black wire is always the hot wire, and the blue wire is the traveler wire which is used only in a 3-way motion sensor switch. For a standard motion sensor light switch that only controls one light from one location, you will see a red wire or black wire instead of the blue wire.
If you see a black wire and red wire on your motion sensor light switch, you need to connect the hotwire from your house to the black wire on the motion sensor switch and connect the load wire to your light to the red wire on the motion sensor switch. The red wire is load wire, in this case, to connect your light.
If you see two black wires on your motion sensor light switch, then the switch does not distinguish from hot or load wire. You can connect the hot wire and load wire to each of the black wires, which is easier for installation.
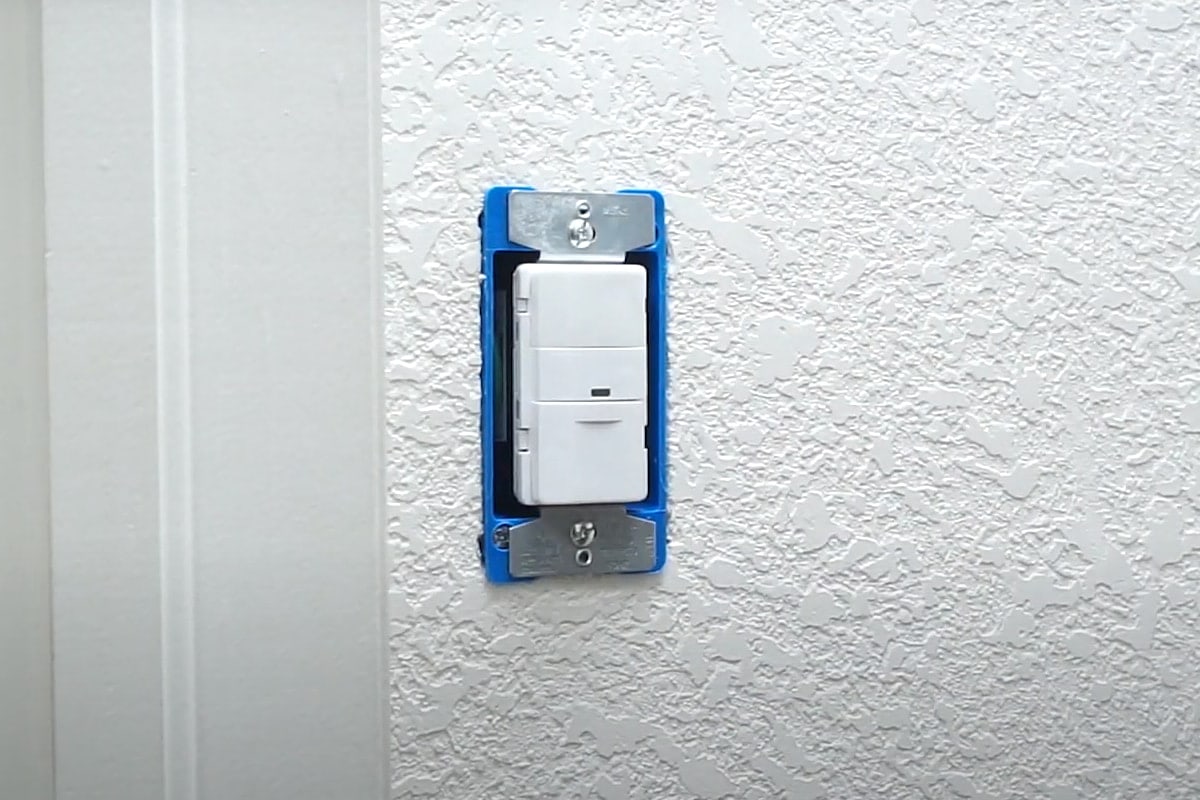
Installing a Motion Sensor Light Switch
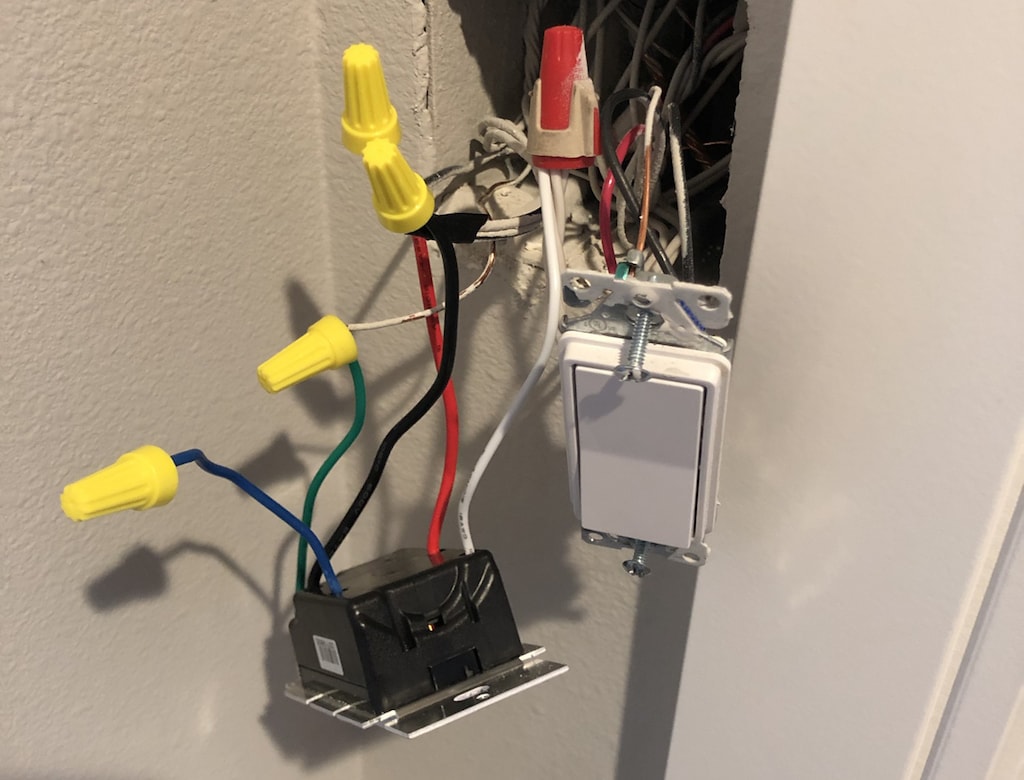
The wired motion sensor light switch photo above is a perfect wiring example. When you need to replace your existing switch with a motion sensor light switch, it’s even easier because you can use the old wirings for reference.
- The blue wire is the traveler wire for 3-way sensor switches. If we don’t use it then we can cap it.
- The ground wire(green) on the sensor switch connects to the ground wire(bare copper) in the wall box.
- The load wire(red) on the sensor switch connects to the load wire(black) in the wall box.
- The hot wire (black) on the sensor switch connects to the hot wire(black) in the wall box.
The detailed steps for installing either a 3-wire neutral-required, 4-wire ground-required or 3-way motion sensor light switch:
- Prepare tools: a non-contact(better and safer) voltage tester, a wire stripper and a screwdriver.
- Shut off the circuit breaker to turn off the power and use the voltage tester to confirm.
- Unscrew and remove your existing light switch.
- Mark the hot wire and the load wire: Keep the light switch turned OFF, turn ON the power and use the non-contact voltage tester to identify which black wire has power – The hot wire has power and the load wire does not have power.
- Turn OFF the power and use the non-contact voltage tester to confirm and remove the wirings of the existing switch. Mark the hotwire with electrical tapes if necessary.
- Connect the ground wire(green or bare) in the wall box to the ground wire(green or bare) on the back of your sensor switch with the cap included in the pack and screw tight.
- Now depending on how many wires:
- If you are installing a 3-wire ground-required motion sensor light switch: Nothing should be done here.
- If you are installing a 4-wire neutral required motion sensor light switch: Connect the neutral wires(white) together and screw tight.
- Now the wirings can be different, depending on:
- If you have two black wires on your sensor switch: connect the hot wire and load wire in the wallbox to either of the black wires on the switch individually. It does not matter which is which. Screw them tight with caps.
- If you have a black wire and red wire(or labeled “load”) on your sensor switch: Connect the hotwire in the wallbox to the black wire on the sensor switch and connect the load wire to the red wire(load) on the sensor switch. Screw them tight with caps.
- If you are installing 3-way motion sensor switches: Connect the hotwire in the wallbox to the hotwire on the sensor switch in each wallbox. Connect the traveler wire together on the sensor switch and connect the load wire to the light in the wallbox.
- Tuck the wires into the wallbox and partially screw the light switch. Turn on the power and test the functions and wirings.
- If the wiring is correct, adjust the wall switch to a straight position, screw tight the motion sensor light switch and install the wall plate cover.