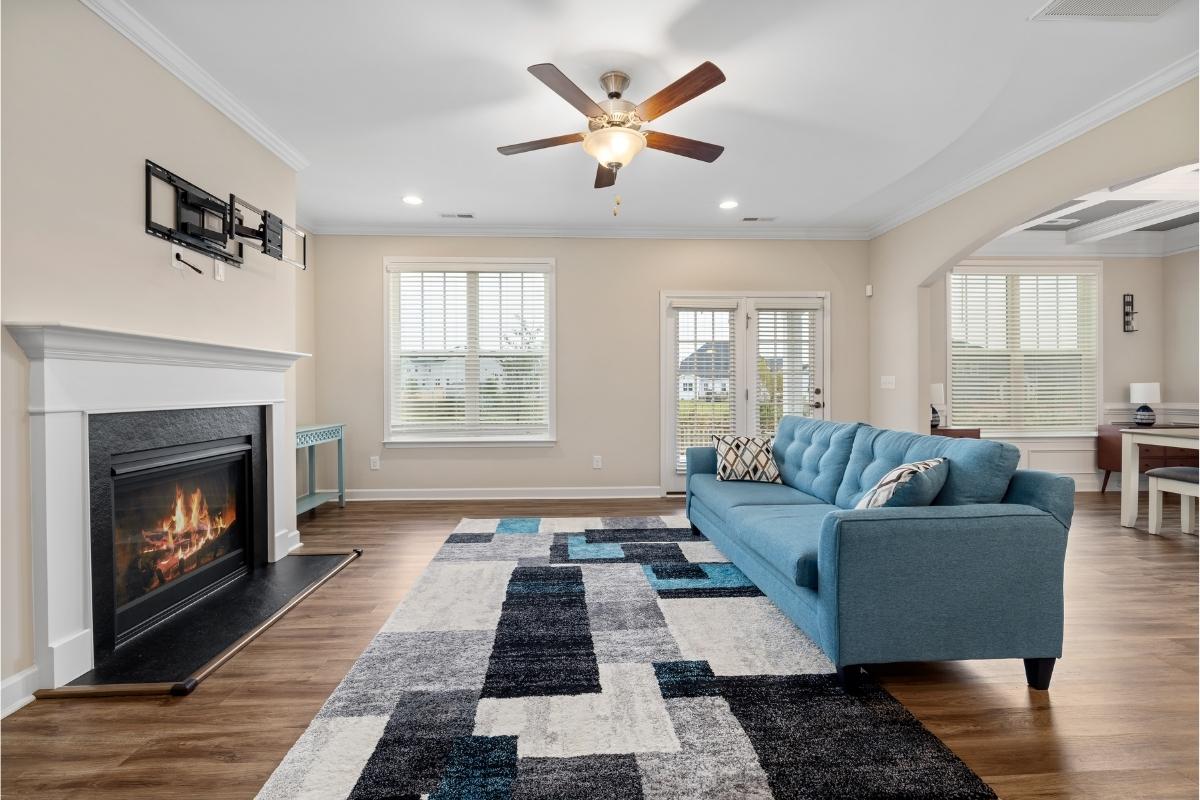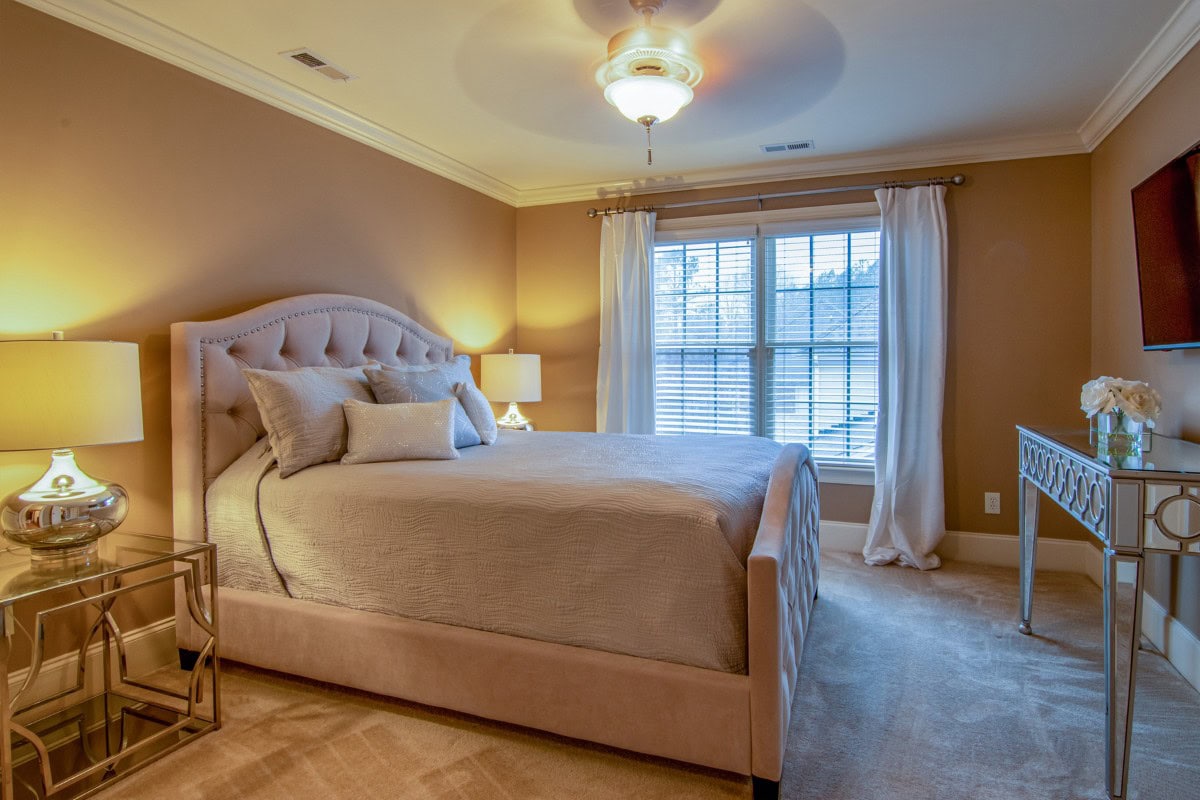
If you’re searching for soft, atmospheric lighting in your kitchen, bathroom, or bedroom then you’ve probably considered flush mount lighting. These smaller lights provide a more even level of illumination while also looking stylishly modern.
With the ever-increasing cost of living and a growing number of people completing their own DIY projects around the house, you may be considering installing your own flush lights. So, how would you go about doing it?
Select the Style
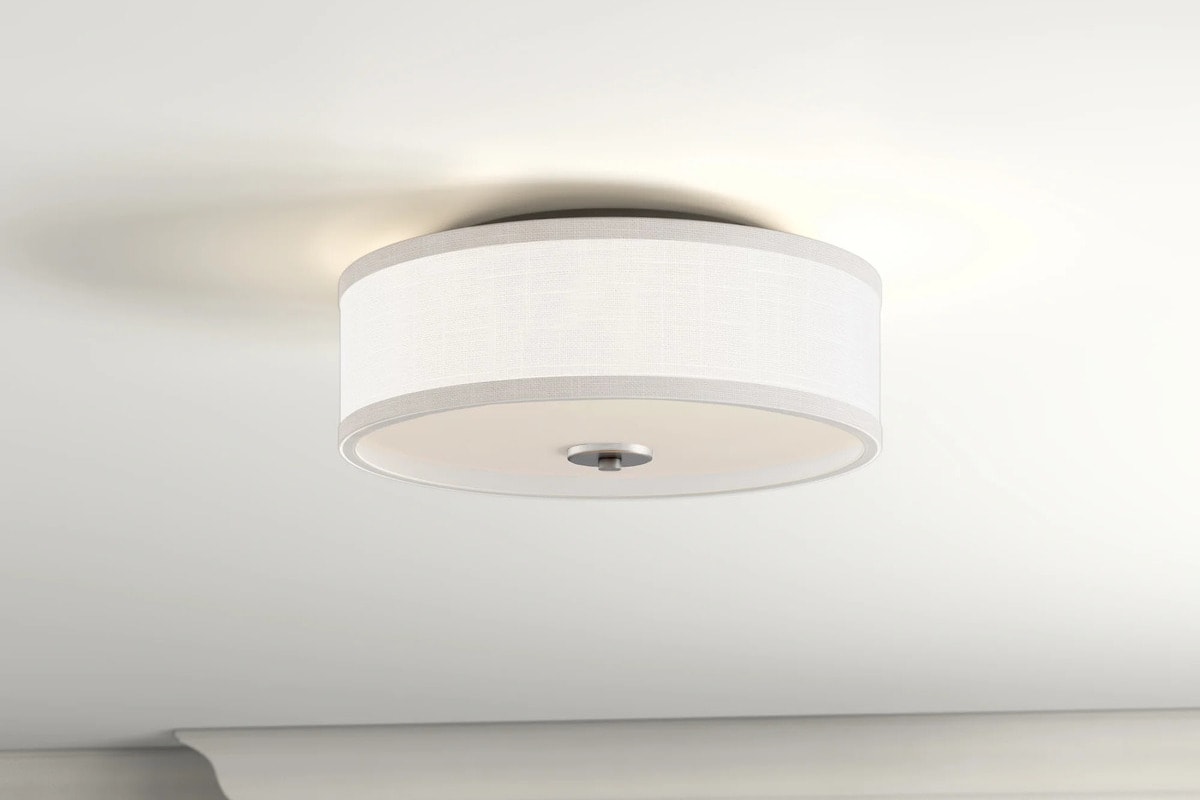
The first stage is arguably the most difficult – selecting your style of light. There are hundreds of lights available both from high street retailers and online, in a number of shapes, sizes, and materials.
Pick a product that will suit the colors and style of your room, and remember that a light can be just as much of an accessory as a mantelpiece or fireplace.
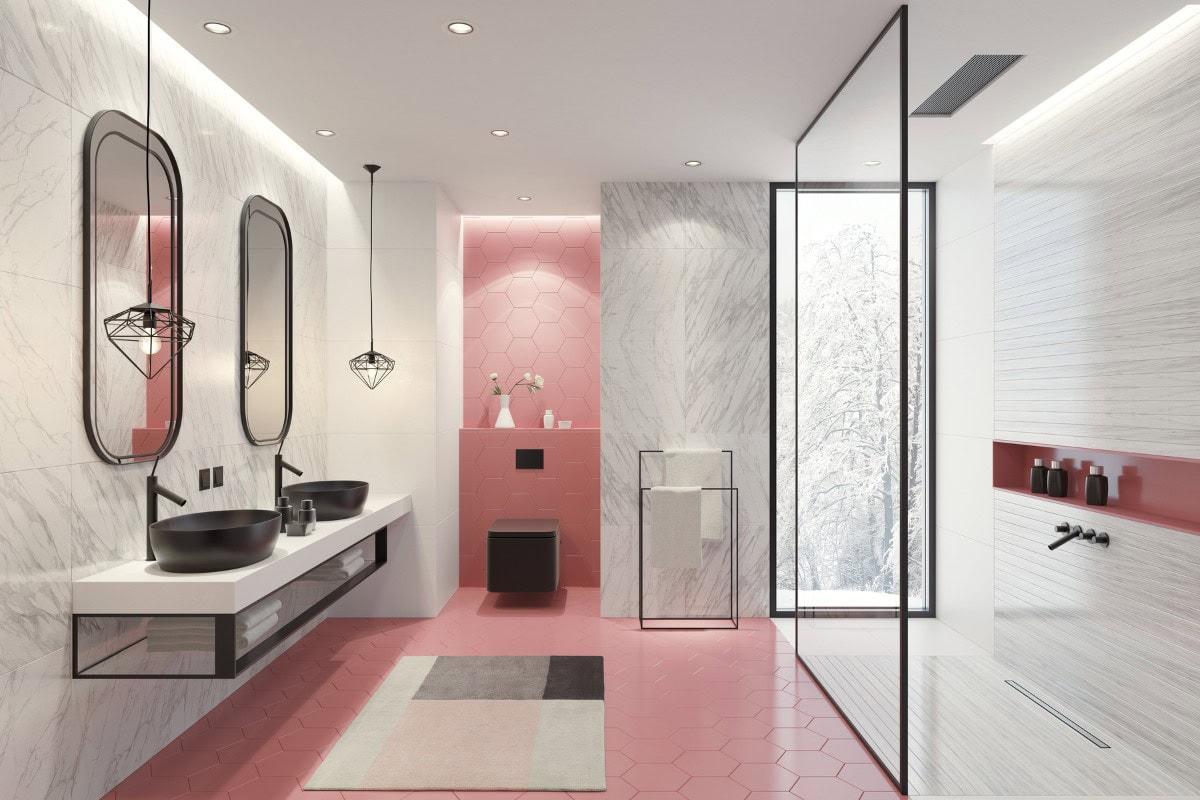
If you desire a warm glow, then you may want to stick to warm color LED lights, or alternatively, if you’d like cooler lighting for a bathroom or kitchen, then fluorescent or LED lights will be ideal.
After selecting your lights, you’ll need to decide on the number required. Depending on bulb size and the dimensions of your room, this could be just one or could be several. Online calculators can assist you in this process, or you may already have an idea through trial and error and your previous light fittings.
Installation
Turn off Power
Once you’ve purchased your lights, the first step is to power off the electricity at the electrical panel. An unexpected electric shock is never ideal, especially if you’re halfway up a ladder with a screwdriver in your hand. Turn the light switch on and off multiple times to confirm the power is cut off.
Remove Fittings
Next, you’ll need to remove the fitting from your previous light and the covering of your power unit to expose the three wires running from above your ceiling. At this point, you may need to strip the ends of these wires and expose the inner copper using either a pair of pliers or a wire stripper, both available at any DIY shop.
At this point, if you’re planning on installing a flush light at a new location, you may require the assistance of a plasterer and an electrician to ensure you have both an available power supply and an accurately sized hole through which to affix your light fixture.
Measure the Height
The next step is to measure the height of the new light and alter the length of the threaded tube to just over this length by adjusting the mounting strap – through which the light will later attach to the ceiling. Ensure that this is tightened sufficiently to eliminate the risk of your light dropping and potentially damaging the light or injuring someone. Take your time and ensure this is done accurately, as any mistakes could mean an ill-fitting light or unsightly small gaps between the light and the ceiling.
You can then affix the mounting strap and threaded tube to the ceiling with a set of screws. If you are replacing an old light, it may be wise to screw into the holes from your previous light fixture to prevent any unsightly holes in the ceiling. Furthermore, you should ensure that your screws have bored deeply into solid plasterboard to prevent the light from slipping or falling.
Wire the Light
You should then begin the wiring of your new flush-mounted light. At this point, it is imperative that the wires are not live, so double-check your electrical box panel to avoid any potentially fatal injuries.
The green and yellow striped wire is the grounding wire. Attach this to the corresponding green wire on your light fitting, and repeat this for the white neutral wire and black/red live wire. The safest way to attach these wires is not to twist the exposed wires and insulate with electrical tape, but to instead use a wire cap connector – a small plastic cap which you can screw the wires in to safely and securely complete the circuit.
Like most of the items required for this kind of installation, these wire connectors can be found for only a few dollars from most specialist hardware and DIY stores. Bear in mind that in different countries, or with some different lights, the color of these wires will be different. Each light will however come with a grounding, neutral and live wire, so consult your light’s documentation for specific details if you’re struggling to complete this stage of the installation.
Once your flush light is wired up to the power unit, you can attach the dome itself to the threaded tube, which should already be attached to your ceiling. Before doing so, ensure that a light bulb of the appropriate wattage is securely inserted into the light. It is also worth noting that energy-saving bulbs are also available for flush-mount lighting, which are ideal for low-cost, efficient performance.
Bear in mind that depending on the style of your light, you may be required to complete the above steps in a slightly different order. Always consult the instructions which arrived with your lights, and if in any doubt, it is most sensible to contact an electrician or other trained professional to guarantee both your safety and the physical appearance of your new light.
Restore Power
Once your light is securely attached to the ceiling, with all wires connected and light bulbs inserted, then it is time for the moment of truth. Restore power through your electrical box panel, and turn on the light. If all has gone to plan, you should now be reaping the benefits of an even, soft-glowing light.
You are then free to enjoy the fruits of your labor however you please. Whether you’re inviting friends around for dinner or enjoying a film with the family, your new flush mount light will provide a soft, atmospheric level of illumination which can improve the appearance of any room.