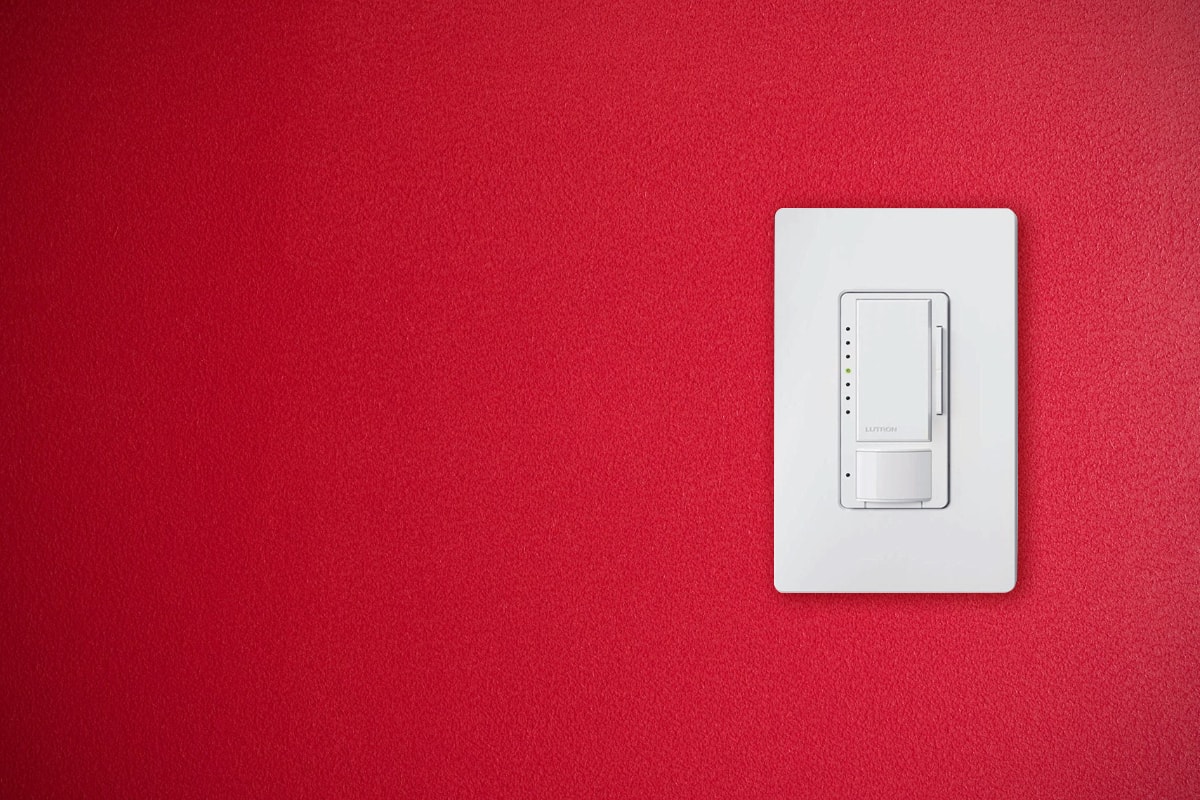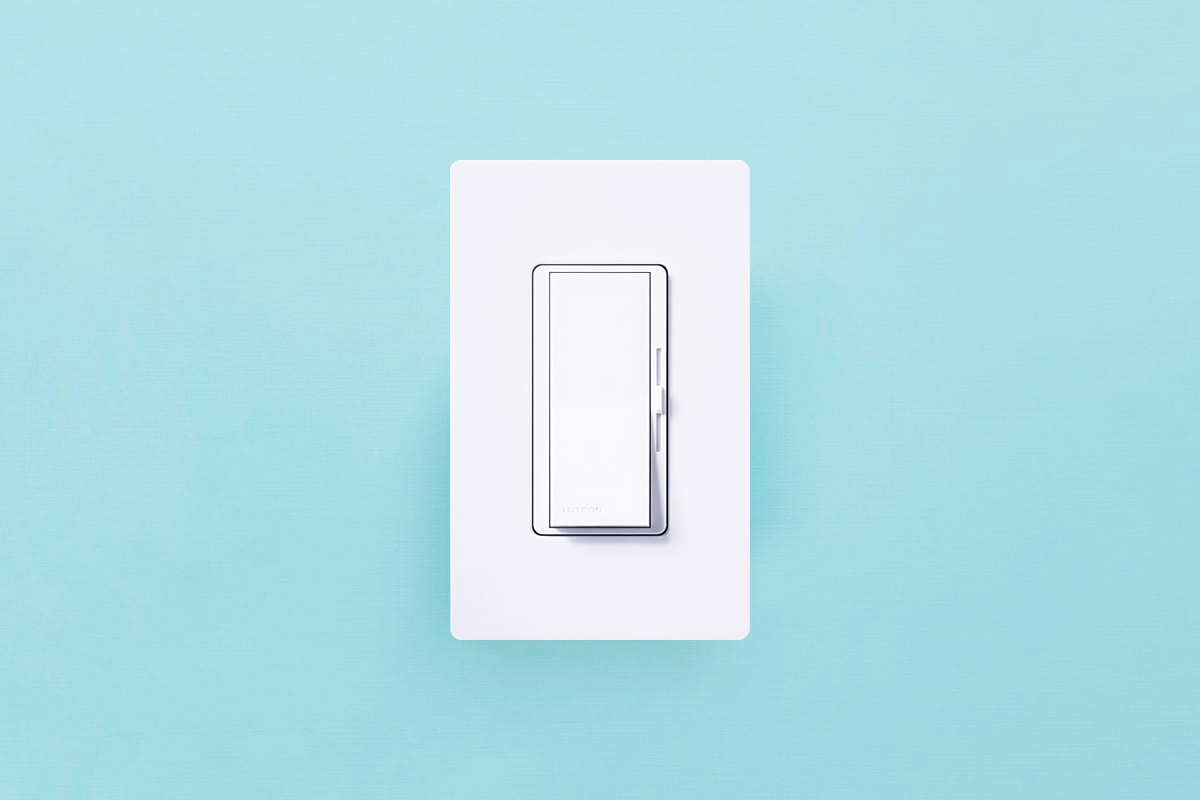
Motion sensor lights are energy-friendly, convenient to use and easy to install. Home DIYers can replace and install a hardwired motion sensor light within 30 minutes, even for a complete beginner. The battery and solar-powered lights are even faster to mount and install, requiring nearly little to no handwork.
After installing an outdoor security light, the first thing to do is to set up the motion sensor correctly for the best settings. Without proper adjustment, a motion sensor light not only will not work to its full potential to detect people and motion effectively, but also it can falsely activate or turn off the lights, which may cause unwanted trouble at night.
This guide is a general guideline for you to follow when adjusting the motion sensor lights. Always refer to your user instruction for the final settings and recommendations from the manufacturer.
Initial Positioning
Before making adjustments to the motion sensors, the first thing is to align and position the motion sensor lights. We don’t aim for perfect positioning here because we’ll fine-tune them later.
Position the Light Bulb
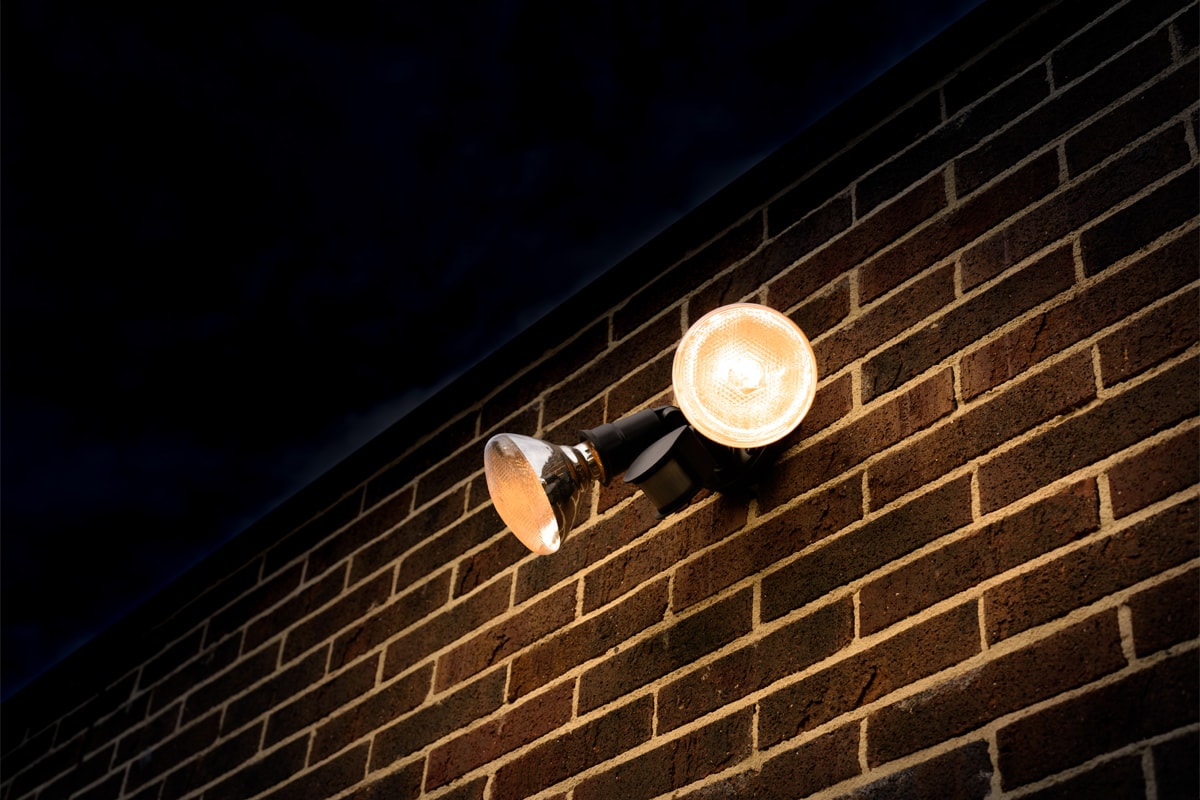
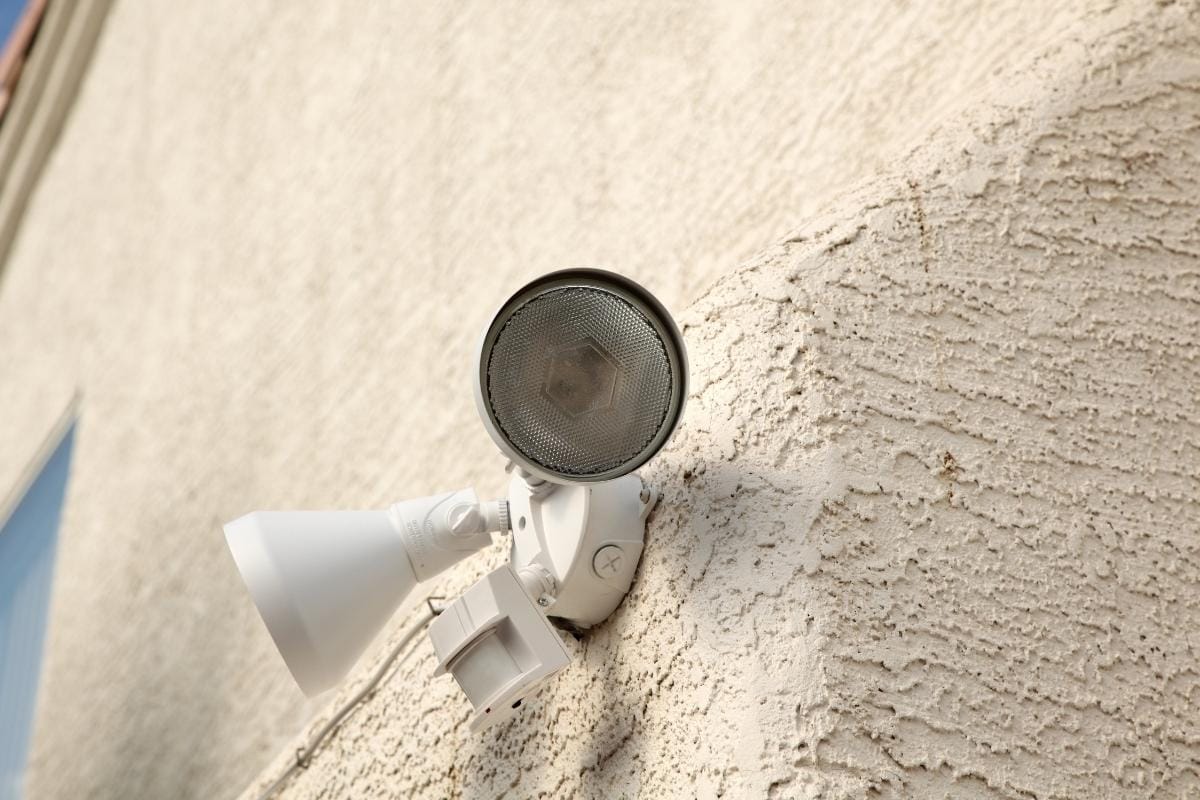
In most cases, we want the light to have the broadest illumination coverage, such as the security floodlights. Adjust the light bulb holders up and down, left and right, till you can roughly get a good position that can light up your entire yard. For a motion sensor spotlight or porch light, you can aim and position the light bulb socket to target a specific area that you want to illuminate.
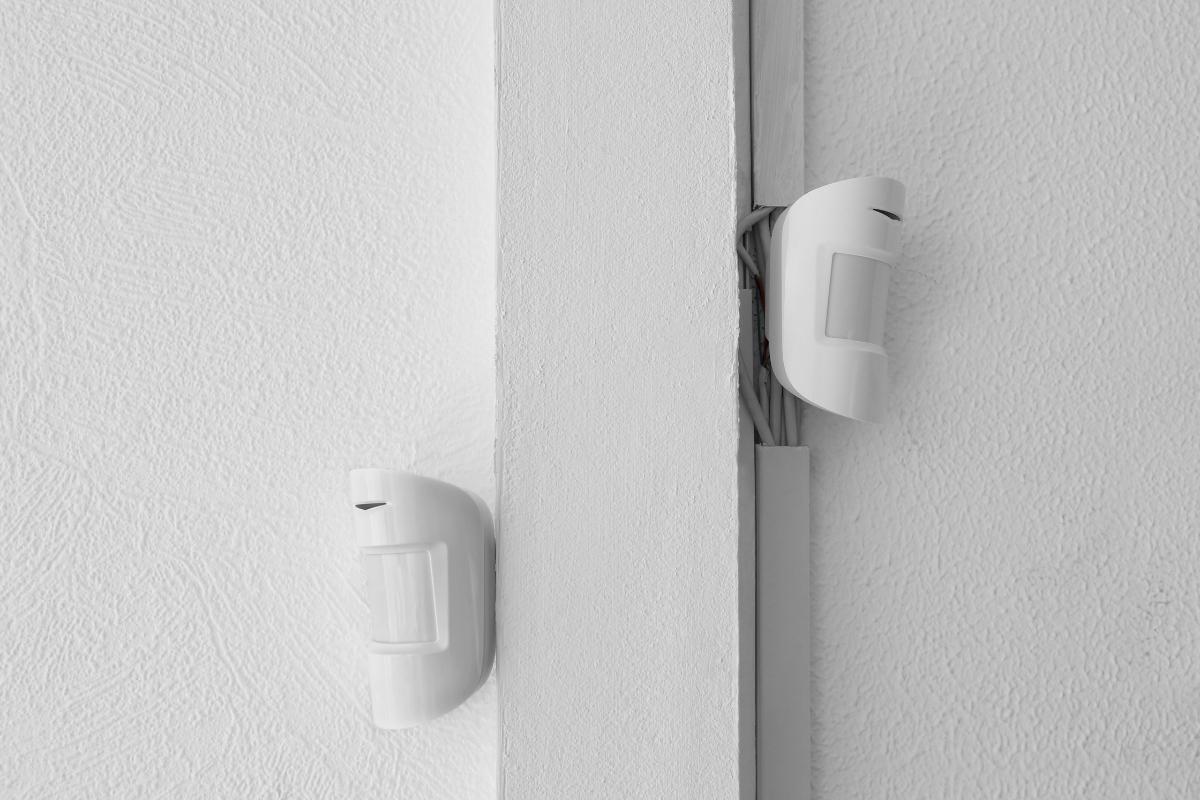
Position the Motion Sensor
When positioning the motion sensor, we aim to make the motion sensor entirely and only target and cover the detection zone. For the initial positioning, angle and point the motion sensor lens to where you want to detect motion. If you are using a motion sensor detector added to a light, together as a motion sensor light, the motion sensor should not be placed too close to the light bulb, at least 2 inches away, in case they will end up influencing each other.
When adjusting the motion sensor, make sure that the motion sensor cannot be triggered by motion from other distractions other than the detecting area. When the motion sensor is not placed properly, the PIR motion sensor might be able to passively receive infrared signals from moving traffic, wild animals or air conditioners which may give out heat signals and get identified as a valid motion, hence triggering the PIR motion sensor to turn on the light. This might also cause your motion sensor light to falsely turn on and not turn off.
Adust the Motion Sensor
First, we need to warm up the motion sensor light for around 90 seconds after the light is initially powered up. Now we can adjust the motion sensor settings for testing.
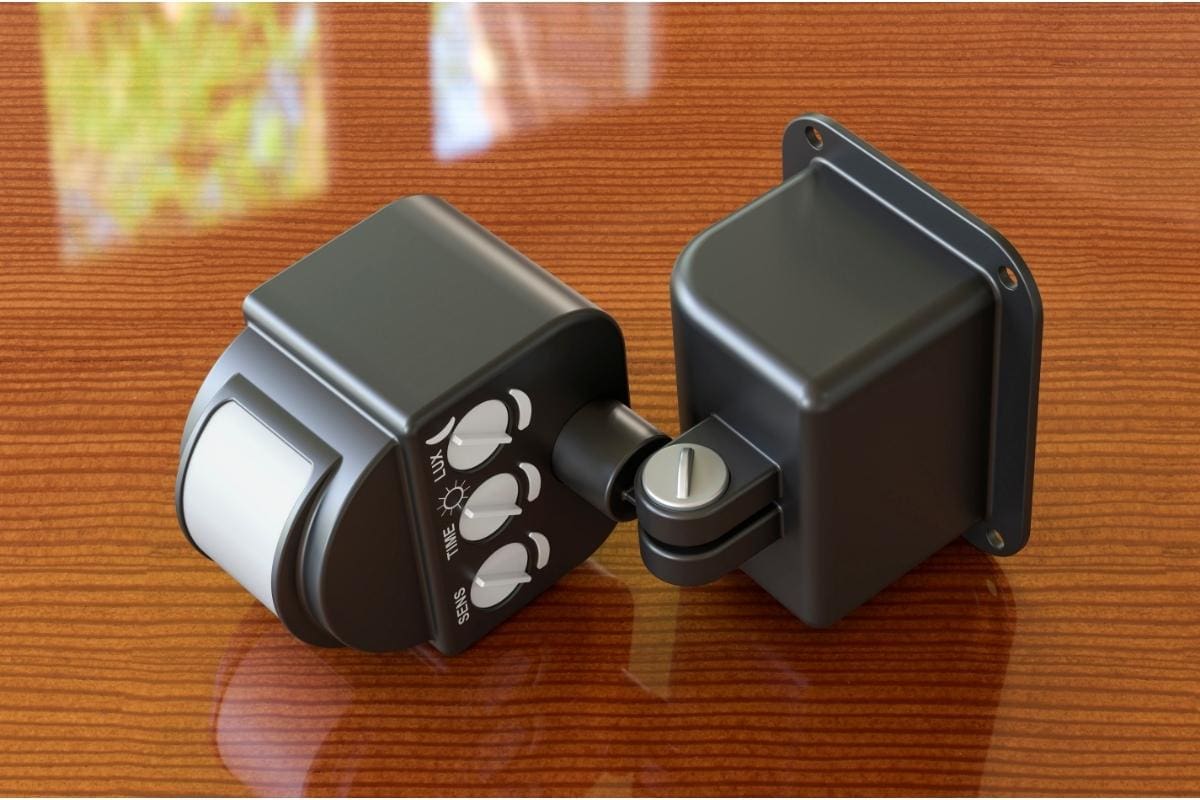
Depending on various models, you may find different options available on the light. Normally you may find these options:
Time or Timer or On-Time
The time, timer or on-time settings means how long the light is kept on after the motion is no longer detected. When testing the motion sensor, we need the time setting to be as low as possible, so the motion sensor light turns off very quickly for us to test again. On some motion sensor lights, you might find a “test” or “test mode” labeled in the timer settings, which is basically the same thing as a very short time setting.
In test mode, some motion sensors may additionally flash a red light to inform the users a motion has been correctly detected. Set the time setting to the lowest or select the test mode.
Sensitivity or Range
The sensitivity or range setting means how sensitive the motion sensor is to minor motion and how far it can detect. Most motion sensors would provide options from low, medium to high for users to customize. When testing the motion sensor, usually we can set the sensitivity to low first and alter the value later because high sensitivity setting may cause false-on which is not good for testing.
You can set the sensitivity to high if you chase for accurate motion detection in the beginning. The sensitivity or range setting is fully optional and entirely up to you.
LUX or Dusk to Dawn or Light Sensing
The LUX, dusk to dawn or light-sensing setting controls whether your motion sensor light can be activated in the daytime. Only when the ambient light is dark or below the preselect LUX or light value can the motion sensor light be normally activated, so the light will not turn on in the daytime, wasting energy.
It’s a useful, supplementary feature to help the motion sensor light save more energy in the daytime. Not all motion sensor lights have this option available, so you may not see this setting in your light. When testing the motion sensor, we need to turn off the light or dusk to dawn settings to test and trigger the motion sensor light to turn on in the daytime.
Test the Motion Sensor
Now we test the motion sensor’s setting. By walking in and out of the detection area, triggering the motion sensor light to turn on and off, we can progressively have a rough picture of how far and how accurate the motion sensor is able to scan and detect.
After several testing, we can compare and fine-tune the positioning and angle of the motion sensor detector and the sensitivity setting until the motion sensor can detect motion only from where you want it to scan and detect. We can also reposition the light bulb holder If the illumination coverage is not at its optimal position. Fix and screw tight the motion sensor light after final adjustment.
Program the Motion Sensor Light
The final step is to program the motion sensor light with our desired settings.
Set the time setting to a proper timespan, such as 5 to 15 minutes according to your preference. The timer setting should not be too short or too long for the best balance of energy-saving and sufficient illumination time.
Set the LUX value to a high value if you don’t want your motion sensor light to turn on in the daytime. Set the LUX off or to a low value when you need the motion sensor light to be more active in the daytime as long as people pass by. It’s similar to the customize the dusk to dawn mode.
Set the working detection mode if your motion sensor light is available with multiple working modes such as dimming, auto-on/off or manual mode.