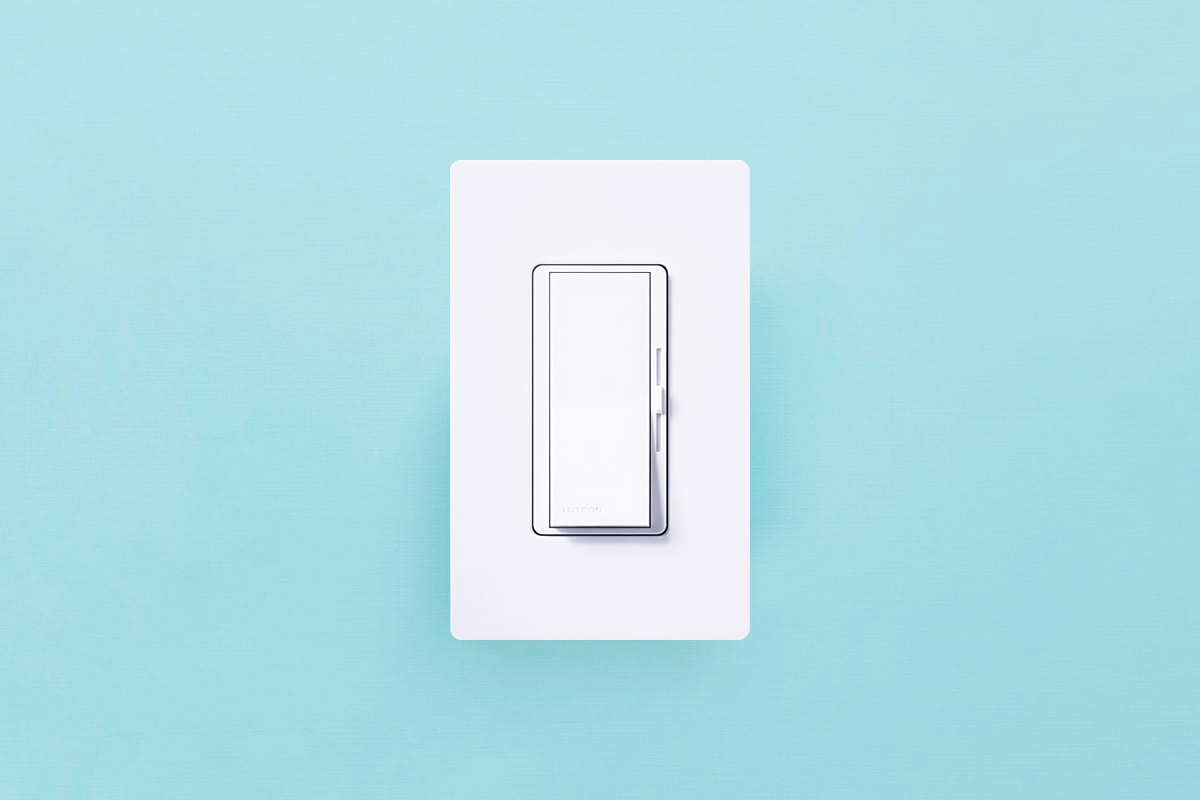
If you’re looking for a simple way to make a big impact with lighting in your home, a dimmer switch may be the perfect solution. It is an excellent way to create a relaxing mood, adjust lighting levels and reduce energy costs in your home instead of simply turning lights on or off. Wiring a dimmer switch can be as easy as installing a single pole light switch. You can hook up a dimmer by yourself as it doesn’t need special wiring. If you haven’t worked with electricity before, feel uncomfortable, or do not have any electrical knowledge, It’s recommended to hire a licensed electrician to install or replace a dimmer switch.
Before You Begin
Here is something beneficial you should know about the dimmer switch before you start installing or purchasing one.
Choose a Dimmer Switch
Not all dimmer switches are compatible with your existing light bulb. Different kinds of bulbs such as incandescent, halogen, CFL, or LED require different types of dimmer switches. Before you buy a dimmer switch, make sure the dimmer is listed compatible with your current bulbs.
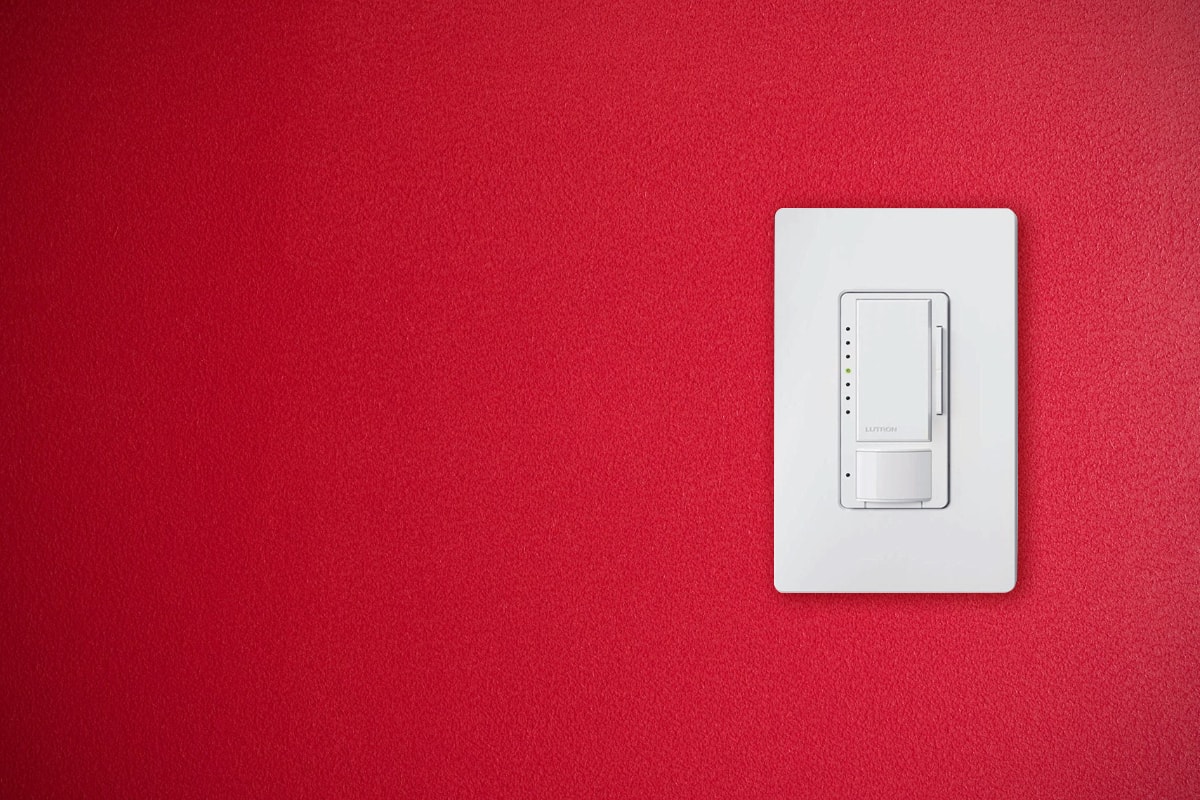
Do you need the switch to control lights from a single location, two locations, or multi-location? In such cases, you need to buy a single pole dimmer, 3-way dimmer, or multi-location accordingly. Most dimmer switches can both work in a single pole or 3-way applications.
Selecting the dimmer switch is always the most important step that you should not neglect.
The Neutral Wire
Do you have a neutral wire in your switch box? Old houses might not have a neutral wire available in the wall box. While most dimmer switches do not require a neutral wire to function, some advanced dimmers do require a neutral wire, especially the main dimmer switch in a multi-location setup.
Dimmers with a neutral wire connection can be more stable and achieve low dimming levels. Usually, most dimmer switches have 3 to 4 wires which are a line wire, a hot wire, a ground wire and a traveler wire for 3-way installation. A neutral wire required dimmer switch usually has 5 wires.
If you need to use a neutral wire required dimmer switch, do make sure your wall box has a neutral wire inside. Otherwise, opt for models that don’t require a neutral wire.
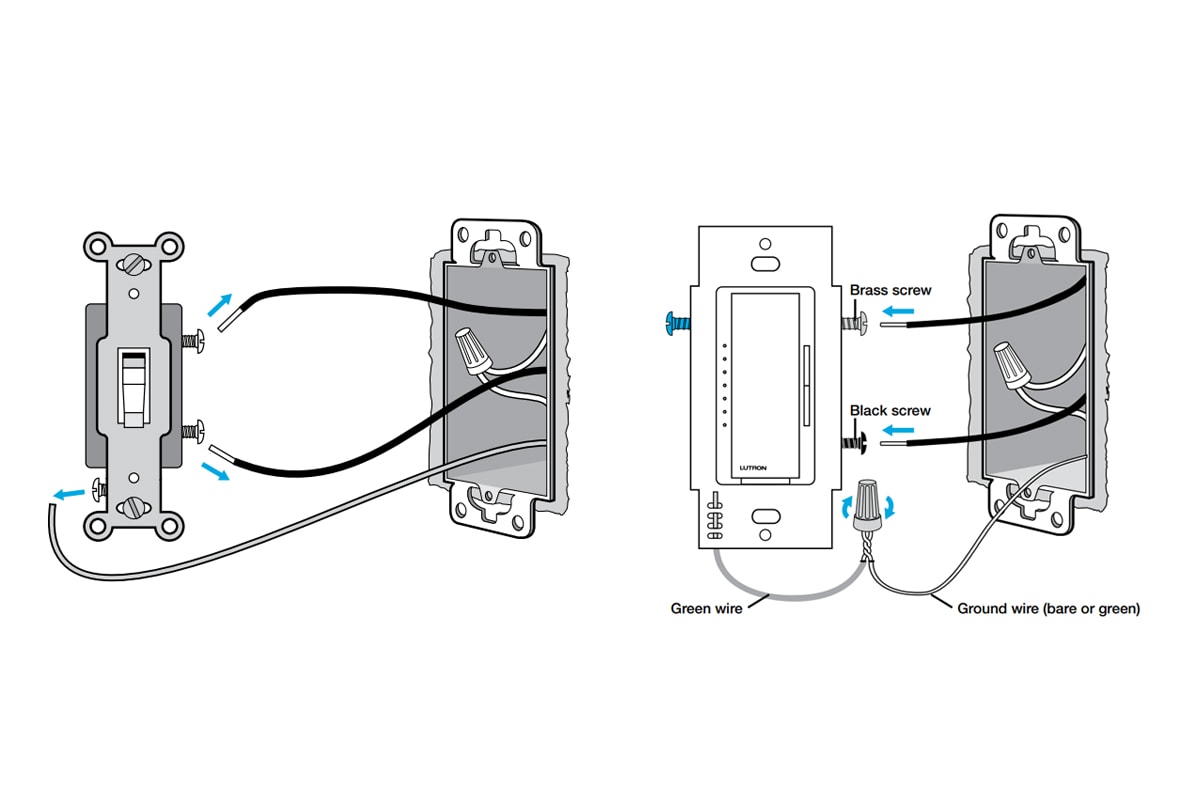
What Are the Wires of a Dimmer Switch
A dimmer switch will have at least 3 wires, one black wire, one red wire, and one green/bare copper wire.
- The black wire is the hot wire or line wire that connects the power source of your house. In a 3-way setup, it is also called a “common wire”.
- The red wire is the load wire that goes to the light fixture. Sometimes it’s a black color wire.
- The green or bare copper wire is the ground wire that connects to the ground.
There may be two additional wires, one red and white wire and a white wire.
- The red wire or red/white wire is the traveler wire that connects the dimmer switch and regular on/off switch in a 3-way setup. If you use a 3-way dimmer in a single pole installation, the red and white wire is not used and capped with a wire connector.
- The white wire is the neutral wire. Some models require a neutral wire, and some do not require it.
What You Need
Prepare these before installation.
- Dimmer switch
- Screwdriver
- Needle-nose pliers
- Voltage tester
- Wire stripper/cutter
- Wire connectors
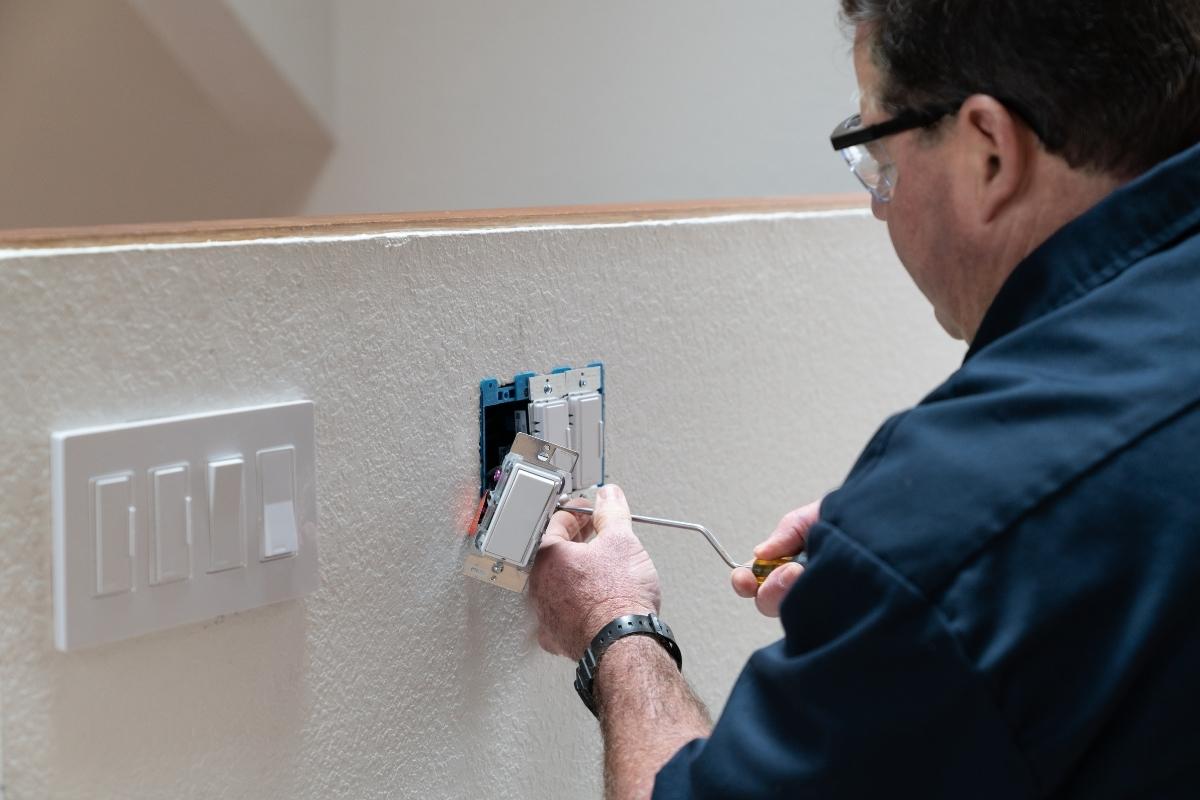
How to Install a Single Pole Dimmer Switch
When you are installing a single pole dimmer switch, The line/hot wire from the power source in your house is usually black. The load wire goes to your lighting fixture and is usually red. Some dimmer switches have two black wires and do not care which hot/load wire connects to which. Do refer to your product installation manual for confirmation.
- Turn off power at the circuit breaker box. Use a voltage tester to confirm the power is off.
- Use a screwdriver to remove the existing switch and wallplate.
- Mark the wires with electrical tapes or take a photo for backup. Identify which wire is hot, load and ground wire.
- Disconnect the wires from the existing switch.
- Remove 4/5 inches of insulation from each wire using a wire stripper.
- Use needle-nose pliers to attach the wires to the switch. Or use wire connectors to connect the wires if your switch has pre-attached wires.
- Connect the green ground wire from your dimmer switch to the bare copper or green wire in the wall box.
- Connect the white neutral wire from the dimmer switch to the white wire in the wall box. (Optional, if your dimmer switch requires)
- Cap the red and white wire with a connector if your dimmer switch is also available for 3-way insulation. The red and white wire is not used in a single pole installation.
- Connect the black hot/line wire from the dimmer switch to the black hot wire in the wall box.
- Connect the red or black load wire from the dimmer switch to the red or black load wire in the wall box.
- Carefully tuck the wires in the electrical outlet box and tighten the screws to fix the switch plate.
- Mount the wall plate to the switch. (Optional, some dimmers require you to test and adjust dimmer without wallplate)
- Turn the power back on and test your dimmer.
How to Install a 3-Way Dimmer Switch
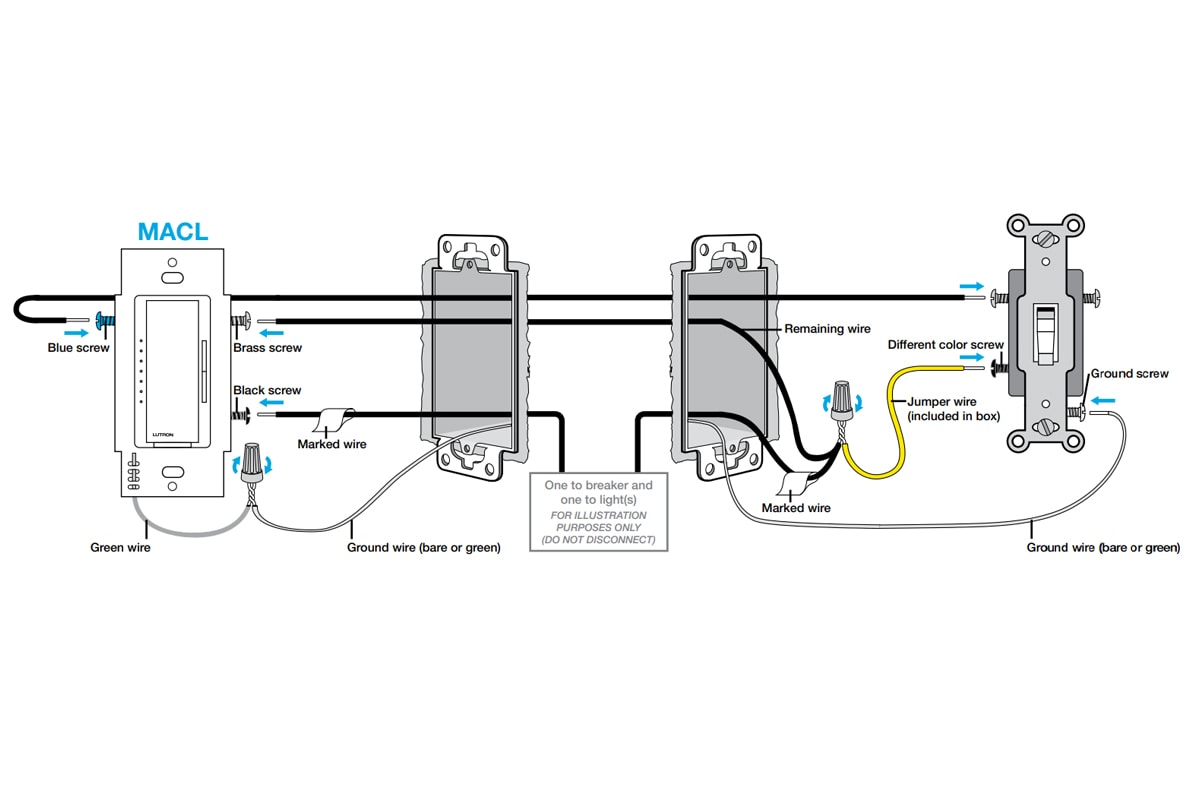
When you are installing a 3-way dimmer switch, the dimmer switch can replace either one of the two switches. In a 3-way installation, the term common wire refers to the line wire or black wire that carries electricity from the power source. The traveler wire is the rest black or red wires that travel through the two switches.
- Turn off power at the circuit breaker box. Use a voltage tester to confirm the power is off.
- Use a screwdriver to remove the existing switch and wallplate.
- Mark the wires with electrical tapes or take a photo for backup. Identify common wire(usually a black wire with a tag), traveler wires(usually two red wires), and ground wire.
- Disconnect the wires from the existing switch.
- Remove 4/5 inches of insulation from each wire using a wire stripper.
- Use needle-nose pliers to attach the wires to the switch. Or use wire connectors to connect the wires if your switch has pre-attached wires.
- Connect the green ground wire from your dimmer switch to the bare copper or green wire in the wall box.
- Connect the white neutral wire from the dimmer switch to the white wire in the wall box. (Optional, if your dimmer switch requires)
- Connect the black wire from the dimmer switch to the black common wire in the wall box.
- Connect the two red traveler wires(or one red wire and one red/white wire) from the dimmer switch to the red traveler wires in the wall box.
- Carefully tuck the wires in the electrical outlet box and tighten the screws to fix the switch plate.
- Mount the wall plate to the switch. (Optional, some dimmers require you to test and adjust dimmer without wallplate)
- Turn the power back on and test your dimmer